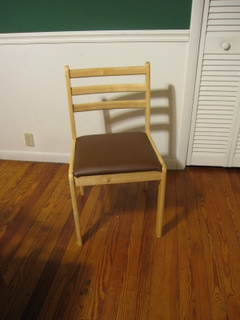
Reupholstering Chair Cushins
Other than watching TV design shows, I had no other education or real life experience associated with the upholstering of chair cushions – until the last few days!
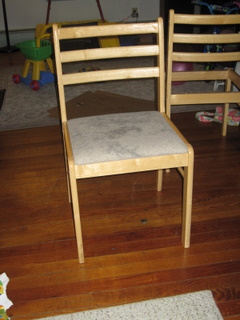
I asked one of my friends if I could upholster her dining room chairs for her. She has two small children and has had the chairs for a while. The frames are in good shape, but the cushions, well, could use a little work. I knew it wasn’t something she would do for herself, and we have been to so many parties and dinners at their house recently that I wanted to do something nice for them.
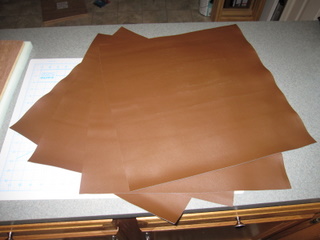
After one of the parties knowing that we would be back for dinner in a couple days, I took the cushions with me (with permission of course) and planned to get them back to her before we saw them next. I had already purchased the milk chocolate colored vinyl since I wanted to make sure it was okay with my friend before actually starting the project – she liked the color and that it wiped off easily.
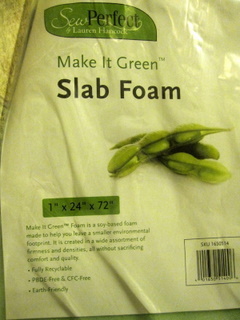
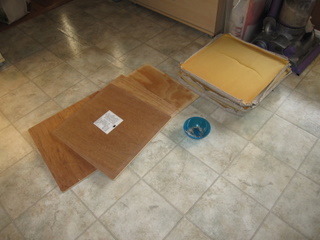
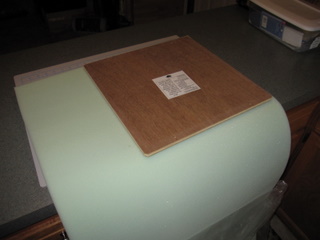
The next day, I took the fabric off the chairs and realized the foam was in bad condition. I had anticipated this, but hadn’t purchased anything yet just in case the foam was in good condition. I headed out and found options at Hancock Fabrics. I don’t know if it was the right choice, but I had two things to choose from: Soy foam or Poly-fil. I felt the better choice was the soy foam since it was similar to what my friend had before, it seemed more cushy, and I liked that it was made of soy with less chemicals. The price was almost equivalent at only a $2 difference for the amount I needed.
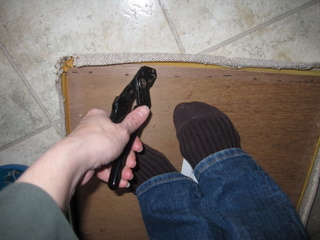
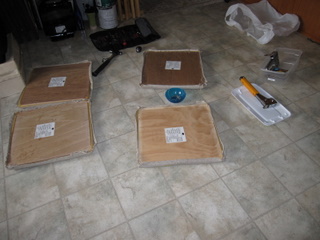
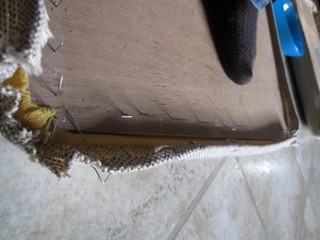
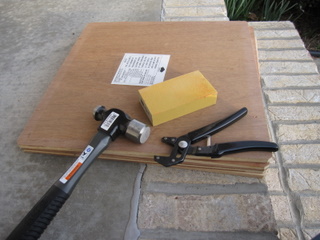
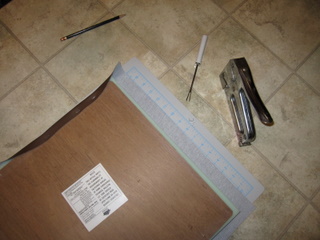
Taking the fabric off of the cushions was not fun. With Robogrip pliers, hammer, and mini-crowbar, I managed to get all of the staples pulled from the wood. The staples that wouldn’t come out of the wood with the Robogrips were hammered in so that they wouldn’t catch on anything. I sanded the wood with a sandpaper block to clean it up. My hands were tired from all of the pulling/gripping and my knees and legs were tired from having to stand on the wood part of the cushion so that I had enough leverage to pull the fabric off and the staples out – I felt the jolt as each staple came out. After the hour it took to remove the old materials, I had had enough, and I left the reupholstering for the next day.
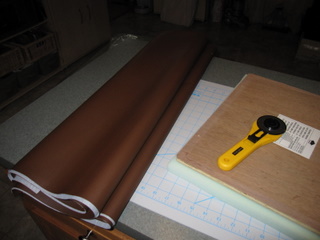
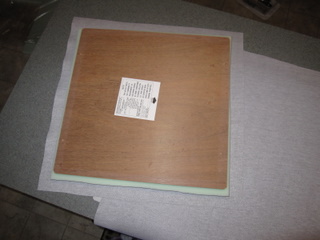
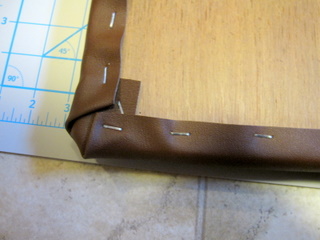
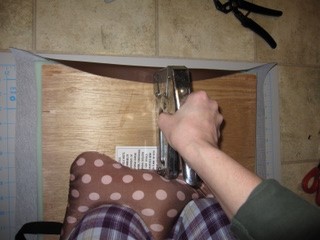
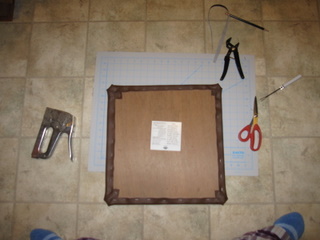
The next phase was to cut the foam and vinyl to fit the wood and then staple the vinyl on. This part of the process took 1 hour 45 minutes. The first one took me the longest at about an hour with getting set up, the measurements just right, and the staple gun to work; but after that, it only took 15 minutes for each of the other 3 cushions.
This evening, we took the cushions to my friends’ house and their 4 year old daughter helped me by handing me screws while I attached the cushions. She even slid the next chair into the room when I needed the next one. All of the chairs were fixed in time for dinner and then used in conjunction with 2 sheets for a tent later that evening to play under.
The process of reupholstering the chairs was harder than I thought, but my learning curve was steep so it didn’t take me very long at all – a total of 2 hours 45 minutes (not including shopping time). I think they look really nice and I know my friend and her husband like them too. Now I can say I have reupholstered chair cushions! I have two chairs of my own that I have wanted to do this to but didn’t know if I could. They are just hardwood and I would love cushion on them – I think that will be a project for next month or later this one if I get the other things done on my list.

